Solution overview
AXIS Demographic Identifier
AXIS Demographic Identifier is an analytic software that can be installed on a network camera.
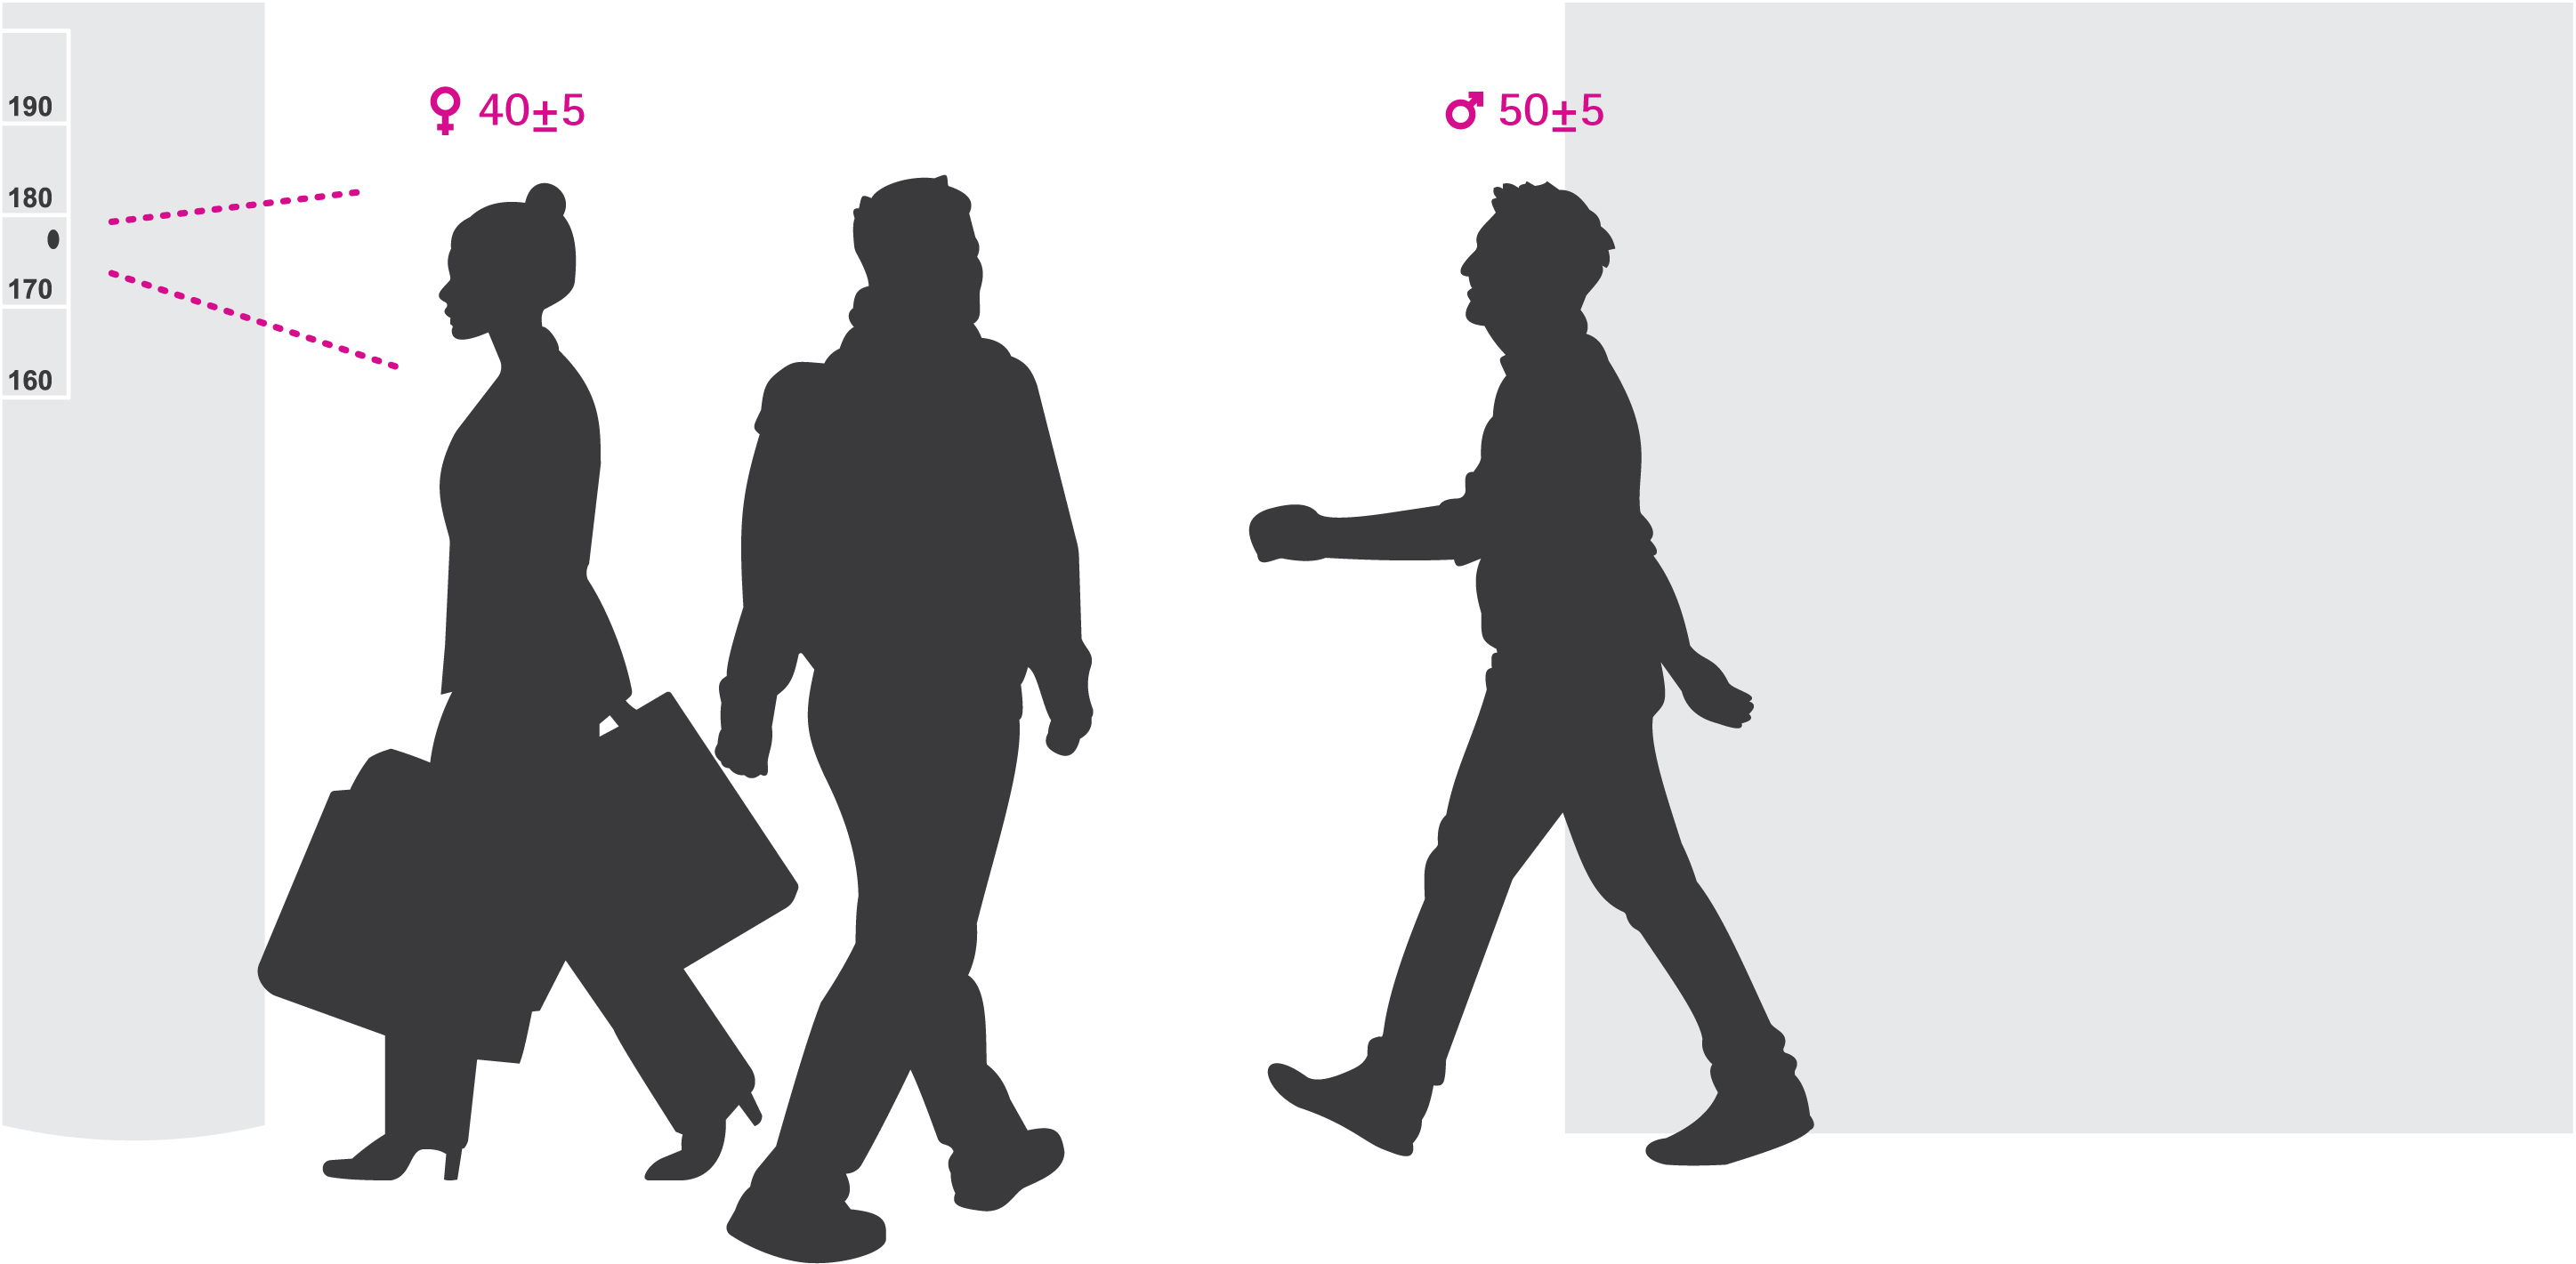
The application is intended for retail and other environments where you want to estimate the gender and age of people passing by. AXIS Demographic Identifier is suitable for digital signage implementations, as well as when you want extended knowledge about visitors. When combined with AXIS People Counter statistics, the output gives you a good understanding about the number of men and women that have visited, and what age category the visitors were in.
How does gender and age detection work?
Each face track, consisting on several face detections, results in one gender and one age estimate. A face detection is one box of the face detected in the image. In theory, the application can detect up to 100 faces (boxes) per image.
A face track can be 1 second, 10 minutes, or any duration, all depending on how long the application keeps detecting the face. This means a face track can consist of 5, 10 000, or any amount of face detections. The age and gender estimate is not necessarily more accurate if the face track is longer.
To make the application work as expected, a proper installation and setup is very important.
Mount the camera
Camera placement
Mount the camera so that it points to the face of the people walking by. The application tolerates an angle of approximately +/- 15 degrees of yaw, roll or pitch from a frontal face.
- Mounting examples:
This camera is mounted next to an exit, pointing at the people passing by.
Mount the camera so that it has a view from above. This camera is mounted at the exit, pointing at the people walking out.
In this digital signage scenario, the camera is mounted so that it looks straight at the person’s face.
Image quality
Aim for a setup where the faces passing by are:
in focus
rich in contrast
evenly illuminated without reflections and shadows
In scenes with strong backlight, resulting in dark faces with low contrast, consider complementing the setup with illumination sources to achieve better face images.
Find the device on the network
For more information about how to find and assign IP addresses, go to How to assign an IP address and access your device.
Access the device
Open a browser and enter the IP address or host name of the Axis device.
If you do not know the IP address, use AXIS IP Utility or AXIS Device Manager to find the device on the network.
Enter the username and password. If you access the device for the first time, you must set the root password. See Set a new password for the root account.
The live view page opens in your browser.
Secure passwords
Use HTTPS (which is enabled by default) to set your password or other sensitive configurations over the network. HTTPS enables secure and encrypted network connections, thereby protecting sensitive data, such as passwords.
The device password is the primary protection for your data and services. Axis devices do not impose a password policy as they may be used in various types of installations.
To protect your data we strongly recommend that you:
Use a password with at least 8 characters, preferably created by a password generator.
Don’t expose the password.
Change the password at a recurring interval, at least once a year.
Set a new password for the root account
The default administrator username is root. If the password for root is lost, reset the device to factory default settings. See
Type a password. Follow the instructions about secure passwords. See Secure passwords.
Retype the password to confirm the spelling.
Click Create login. The password has now been configured.
Install the application on the camera
- The license is only valid for one camera. You can’t activate the license on another camera without a new registration key.
- To install applications on the camera you need administrator rights.
Install the camera on your network..
Go to the camera’s web interface in your browser, see the user manual for the camera.
Go to Apps.
Upload the application file (.eap) to the camera.
Activate the license. If you’re online, enter the license code. The application automatically activates the license.
How to activate the license when you’re offline
- To activate the license when you’re offline, you need a license key. If you don’t have a license key on the computer, do the following:
Go to License key registration. You need the license code and the Axis device serial number.
Save the license key file on the computer and select the file when the application asks for it.
Access the application settings
In the camera’s web interface, go to Apps, start the application and click Open.
Additional settings
Set the date and time
The date and time settings are important for your camera to keep the correct time for a longer period of time, and for the statistics to be attributed to the correct time. You set the date and time in the camera’s web interface.
In the camera’s web interface, go to System > Date and time.
For more information about date and time settings, click
 .
.
Create a user account
You can create user accounts with different privileges, so that unauthorized staff can view statistics but not change any settings of the counter.
You create user accounts in the camera’s web interface.
In the camera’s web interface, go to System > Users.
For more information about user accounts, click
.
How to set up the detection area
The detection area is the area in the image where the application should detect faces. When you set up the detection area, keep in mind that the longer the face is visible in the image, the better the detection will be. Also bear in mind that the higher frames per second (fps), the more accurate detections.
In the application settings, go to Settings > General.
Make sure the application Status is on.
Type a name in the Name field. This is the name that shows up in AXIS Store Reporter.
Set the Detection area by clicking Setup.
To set the detection area, adjust the size of the yellow window. The smaller the window, the higher frames per second which in turn gives more accurate detections.
- Note
To be able to detect a face, the size of the green window needs to be at least 50 pixels.
To set the size of the faces you want to analyze, adjust the size of the green window. The larger the window, the higher frames per second which in turn gives more accurate detections.
Go to Live view to check the detection area.
How to trigger an event
Go to Settings > Events.
Select Enable.
Click Submit.
Go to the camera’s webpage to access the event system.
In the event setup, use the trigger Application and choose between the following default triggers:
Demographics-any_0_30 – detects people with any gender from age 0 to 30, regardless of gender
Demographics-any_0_31_plus – detects people from age 31 and older, regardless of gender
Demographics-female – detects women
Demographics-male – detects men
Follow the built-in instructions to set up an event.
How to create customized triggers
In the advanced mode, you can create your own triggers by customizing the following parameters:
[top row]- the name of the trigger
gender- male or female
min_age- the minimum age of the person
max_age- the maximum age of the person
t_min- the amount of time in seconds between face triggers upon detection
Example
If you want to play a video that is 20 seconds long, targeted at women aged between 31 and 65, this is what the customized trigger should look like.
"play_video_middle_age_women": {
"gender": "female",
"min_age": 31,
"max_age": 65,
"t_min": 20
}
Go to Settings > Events.
Select Enable.
Select Advanced.
- Note
In the text field, do not change or remove any of the code characters.
In the text field, we recommend that you copy an existing trigger and then change the parameters
gender,min_age,max_ageort_min.To check the code and the content, click Verify.
If there’s something wrong with the code or the parameters, check the code and try again. You can always reset to default by clicking Use default settings.
Click Submit.
Go to the camera’s webpage to access the event system.
In the event setup, use the trigger Application and then select the trigger you just created.
Set up a schedule
To avoid unwanted detection during the night or during holidays, we recommend that you set up a schedule.
Go to Settings > Counting schedule.
To adjust start and stop times, move any of the sliders. To set individual schedules for each day of the week, select Per day schedule and then move the corresponding sliders.
Turn off the application on a specific day of the week
Clear the checkbox next to the slider.
- Turn off the application during holidays
- Select the holiday dates in the calendar under Holidays.
Copy the application settings to another camera
Use the copy functionality if you want to copy the application settings to, for example, other cameras in the same store with the same mounting height. Camera-specific settings, such as the application license and camera name, are not included.
To copy the application settings, go to Maintenance > Parameter backups.
Click Copy. The computer saves the file in your browser’s default folder for downloads.
Statistics
There are several ways to use the statistics from the counter:
In the application’s web interface, view real-time counting data in the built-in graphs.
View built-in graphs in day and week view from the statistics page. The data is updated in real time.
Data is available on the camera for up to 90 days and updated every 15 minutes. The data is stored in 15-minute bins representing the in and out counts for the 15-minute periods.
Download data through an open API. See VAPIX® Library.
Use AXIS Store Data Manager, a software package that acts as a central point to store and manage data collected from all devices. See Connect a camera to a folder in AXIS Store Data Manager.
Use AXIS Store Reporter, a statistical web-based solution, for managing and monitoring historical data.
Download statistics to your computer, see Download statistics.
The statistics is divided into gender and age. The data is stored on the device’s SD card in two different ways:
By age and gender category in 15 minutes intervals
Each face track is saved in age and gender categories as shown below:
| Interval start | Interval stop | M tot | M (0–14) | M (15–24) | M (25–34) | M (35–44) | M (45–54) | M (55–64) | M (65–74) | M (75–) |
| 2017-12-02 08:15 | 2017-12-02 08:30 | 3 | 1 | 1 | 1 |
| Interval start | Interval stop | W tot | W (0–14) | W (15–24) | W (25–34) | W (35–44) | W (45–54) | W (55–64) | W (65–74) | W (75–) |
| 2017-12-02 08:15 | 2017-12-02 08:30 | 4 | 2 | 1 | 1 |
By face track
There’s enough space to store about 20 000 tracks. The tracks are stored in a cycle buffer, which means when reaching track 20 001, it overwrites the first track.
The tracks are stored in JSON format as explained in the HTTP API section.
Connect a camera to a folder in AXIS Store Data Manager
To perform this task, the application must be installed on the camera.
In AXIS Store Data Manager, go to Sources and get the Folder connection identifier and the Folder connection password for the folder you want to connect to.
In the camera’s web interface, go to Settings > Apps and open the application’s web interface.
In the application’s web interface, go to Settings > Reporting.
To enable pushing data to a server, select Enabled.
Enter the web address for AXIS Store Data Manager, for example
http://[subdomain].asdm.axis.com/datamanagerwhere[subdomain]is replaced by a unique name.Enter the Folder connection identifier and Folder connection password.
To test the connection, click Run test.
Click Submit.
Download statistics
Go to Statistics > Download statistics.
Select the file format:
If you select .xml, .csv or .json format you can also select the time interval.
Select date in the calendar. The browser saves the file in the default download folder.
- If you want to download all available data, click Download all next to the file format.
Troubleshooting
| Issue | Action |
| The software doesn’t upload to AXIS Store Data Manager. | The most common reason is network communication problems. Run the connection test under Settings > Reporting to get information about the root cause for the problem. |
| The application doesn’t work with WDR. | To detect the faces of people as fast as possible we recommend that you use the capture mode without WDR (Wide Dynamic Range). Without WDR the frame rate is higher and the face detection becomes faster. However, without WDR, the video stream could look dark if there is strong light into the lens. Therefore, we recommend that you to avoid strong back light. |
| The application doesn’t work in my browser. | Avoid the web browser Internet Explorer® when you use AXIS Demographic Identifier. ChromeTM or Firefox® works better and renders the video stream faster. |
Restart the application
If the counting is inaccurate or the web interface unusually slow, you can try restarting the running services or restart the device.
To restart the device, go to Maintenance > Restart.
Reset the application
Go to Maintenance > Reset and do one of the following:
To clear all counting data from the camera, click Clear data.
To restore all settings of the application to default, click Restore settings.
Back up the settings
To back up the application settings, go to Maintenance > Parameter backups.
Click Backup. The computer saves the file in your browser’s default folder for downloads.
Restore the settings
Go to Maintenance > Parameter backups.
Browse to select the previously saved backup file and then click Restore.
Generate a log report
If you have any trouble with your device you can generate a log report.
Go to Maintenance > Logs.
Click Generate logs.
The browser saves the file on the default download browser on the computer.
Attach the log report when submitting an issue to support.
Manage your license
Go to Maintenance > Registration.
To register a license, click on the Registration page.
If you want to remove you license from this product, click Clear registration.
If you have an updated license, click Renew license.
Common examples
Example
Get Live tracks
Requesthttp://<servername>/local/demographics/.api?tracks-live.jsonReturn (example) - No active track found{ "live": { "tracks" : [ ] } }Return (example) - One active track found{ "live": { "tracks" : [ { "time_start" : 1447749079.091622, "time_end" : 1447749081.011605, "gender_average" : 1, "age_average" : 20, "boxsize_average" : 177, "gender_last" : 1, "age_last" : 21, "boxsize_last" : 180 } ] } }Return (example) - Two active tracks found{ "live": { "tracks" : [ { "time_start" : 1447749104.451576, "time_end" : 1447749109.451567, "gender_average" : 1, "age_average" : 20, "boxsize_average" : 198, "gender_last" : 1, "age_last" : 18, "boxsize_last" : 195 }, { "time_start" : 1447749107.811568, "time_end" : 1447749109.451567, "gender_average" : -1, "age_average" : 21, "boxsize_average" : 160, "gender_last" : -1, "age_last" : 23, "boxsize_last" : 158 } ] } }
Example
Get Ended tracks
Requesthttp://<servername>/local/demographics/.api?tracks-ended.jsonReturn (example) - No active track found{ "ended": { "time_start": 1447748743.039911, "time_end": 1447749643.039911, "tracks": [ ] } }Return (example) - One ended track found{ "ended": { "time_start": 1447749887.539835, "time_end": 1447749947.539835, "tracks": [ { "time_start": 1447749942.930319, "time_end": 1447749946.210321, "gender_average": 1, "age_average": 21, "boxsize_average": 219 } ] } }Return (example) - Two ended tracks found{ "ended": { "time_start": 1447750011.470372, "time_end": 1447750071.470372, "tracks": [ { "time_start": 1447750064.890142, "time_end": 1447750067.690133, "gender_average": 1, "age_average": 22, "boxsize_average": 217 }, { "time_start": 1447750066.130135, "time_end": 1447750067.690133, "gender_average": -1, "age_average": 18, "boxsize_average": 192 } ] } }
Example
Get Live and Ended tracks
Requesthttp://<servername>/local/demographics/.api?tracks-live-and-ended.json&time=60Return (example) - Two Live and one Ended track{ "live": { "tracks": [ { "time_start": 1447750516.809464, "time_end": 1447750523.329454, "gender_average": 1, "age_average": 19, "boxsize_average": 218, "gender_last": 1, "age_last": 19, "boxsize_last": 218 }, { "time_start" 1447750521.569459, "time_end": 1447750523.329454, "gender_average": -1, "age_average": 17, "boxsize_average": 222, "gender_last": 260, "age_last": 19, "boxsize_last": 217 } ] }, "ended": { "time_start": 1447750463.936758, "time_end": 1447750523.936758, "tracks": [ { "time_start": 1447750514.249470, "time_end": 1447750515.329465, "gender_average": 1, "age_average": 20, "boxsize_average": 239 } ] } }
API specification
Get live tracks
This API returns live face tracks (boxes), currently active in the video stream.
- Format:
- JSON
- Method:
- GET
http://<servername>/local/demographics/.api?tracks-live.jsonReturn
See Common examples for return examples.
| Value | Description |
|---|---|
| <time_start> | Time of the first face observation in seconds in form of UTC (Coordinated Universal Time) |
| <time-end> | Time of the last face observation in seconds. |
| <gender_average> | -1 for female estimate and 1 for male estimate on average since <time_start>. |
| <age_average> | Estimated age over the track since <time_start>. |
| <boxsize_average> | Average box size over the track since <time_start>. |
| <gender_last> | -1 for female guess and 1 for male guess on last observation. |
| <age_last> | Estimated age on last observation. |
| <boxsize_last> | Boxsize on last observation. |
Get ended tracks
This API returns previously detected (ended) tracks.
- Format:
- JSON
- Method:
- GET
http://<servername>/local/demographics/.api?tracks-ended.json&<time>| Parameter | Description |
|---|---|
| <time> | Use time to adjust the amount of time (in seconds) to include in the return. The default value is 15 minutes. |
Return
See Common examples for return examples.
| Value | Description |
|---|---|
| <time_start> | Time of the first face observation in seconds in form of UTC (Coordinated Universal Time) |
| <time-end> | Time of the last face observation in seconds. |
| <gender_average> | -1 for female estimate and 1 for male estimate on average since <time_start>. |
| <age_average> | Estimated age over the track since <time_start>. |
| <boxsize_average> | Average box size over the track since <time_start>. |
Get live and ended tracks
This API combines the Live API described in Get live tracks, and the Ended API described in Get ended tracks. It returns both live information, as well as ended tracks.
- Format:
- JSON
- Method:
- GET
http://<servername>/local/demographics/.api?tracks-live-and-ended.json| Parameter | Description |
|---|---|
| <time> | Use time to adjust the amount of time (in seconds) to include in the return. The default value is 15 minutes. |
Return
See Common examples for return examples.
| Value | Description |
|---|---|
| <time_start> | Time of the first face observation in seconds in form of UTC (Coordinated Universal Time) |
| <time-end> | Time of the last face observation in seconds. |
| <gender_average> | -1 for female estimate and 1 for male estimate on average since <time_start>. |
| <age_average> | Estimated age over the track since <time_start>. |
| <boxsize_average> | Average box size over the track since <time_start>. |
| <gender_last> | -1 for female guess and 1 for male guess on last observation. |
| <age_last> | Estimated age on last observation. |
| <boxsize_last> | Boxsize on last observation. |
Get FPS
This API checks the FPS used by the Demographics algorithm.
- Format:
- JSON
- Method:
- GET
http://<servername>/demographics/.api?fps.json{
"fps":<fps>
}Restarts the Demographics service
http://<servername>/demographics/.apioperator?restartReboots the camera
http://<servername>/demographics/.apioperator?rebootGet statistics
Returns historical data in JSON format
- Format:
- JSON
- Method:
- GET
http://<servername>/local/demographics/.api?export-json[&date=<date>][&res=<res>]| Parameter | Description |
|---|---|
| <date> | a date of the form YYYYMMDD |
a date interval of the form YYYYMMDD-YYYYMMDD | |
comma separated dates of the form YYYYMMDD,[..],YYYYMMDD | |
all (default) for all available data | |
| <res> | 15m (default) for data in 15 minute bins |
1h for data in 1 hour bins | |
24h for data in 1 day bins |
Return
This script returns data in JSON format.